OSURC composite rims

This project involved creating composite rims for the Oregon State University Robotics Club's rover. Previous rims for the rover were heavy and lacked rigidity.
This was the first project that I was able to work on with OSURC. This project started in Fall of 2020 and finished Spring 2022. The beginning stages of this project involved researching composite manufacturing. Global Formula Racing was a massive help during this project. OSURC had lost all composites knowledge before this project began.
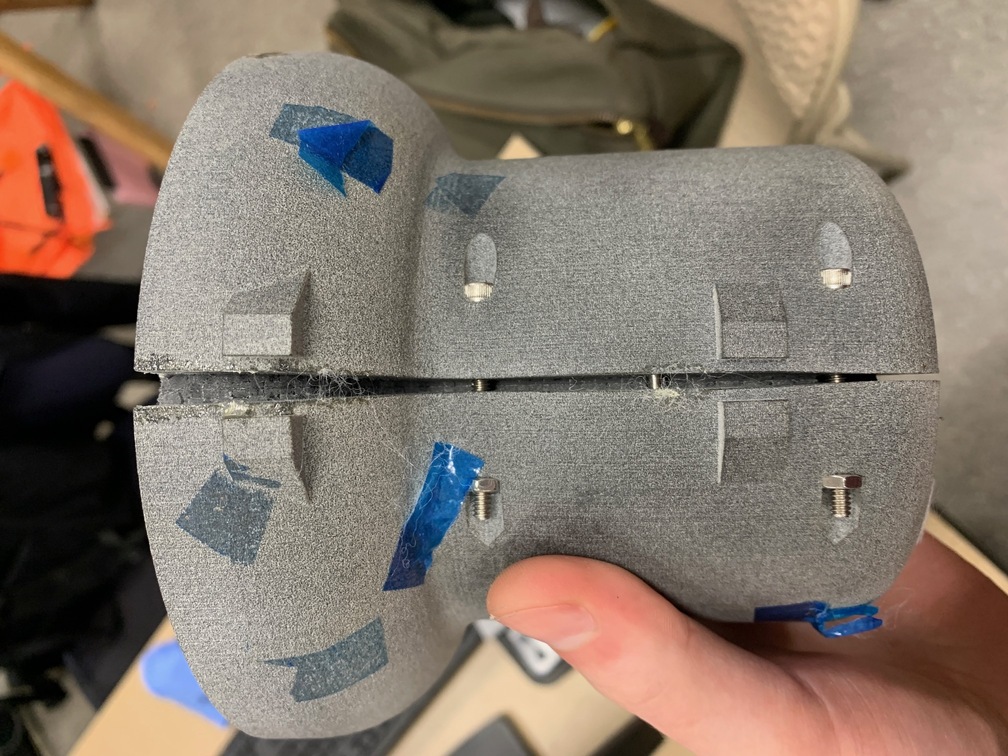
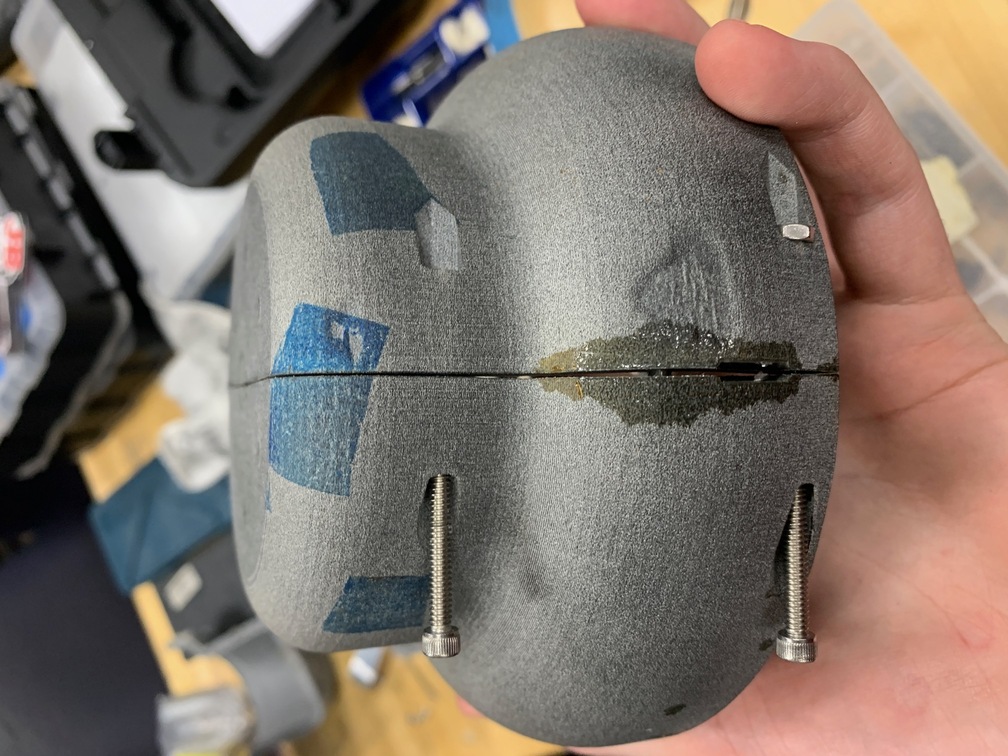
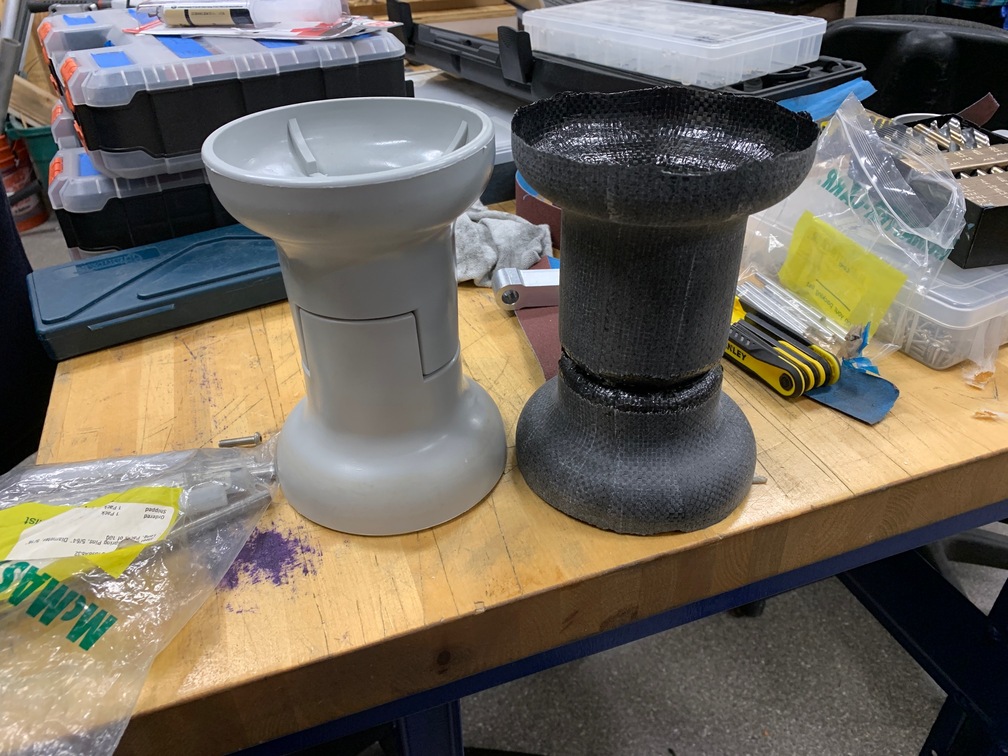
The geometry of the composite rims were determined by the inflatable tires being used. Because the rims fit inside of the inflatable tire, we decided to use a female mold to ensure we get accurate exterior geometry. Designing the molds was a long process because of the composite material that we selected on using. The prepreg carbon fiber that we selected to use was a Toray T700-2510 prepreg. The 2510 system uses a cure temperature of 250-270°F so the mold material was crucial. Through an HP sponsorship, we got molds printed out of PA12 nylon that could withstand the high temperatures.
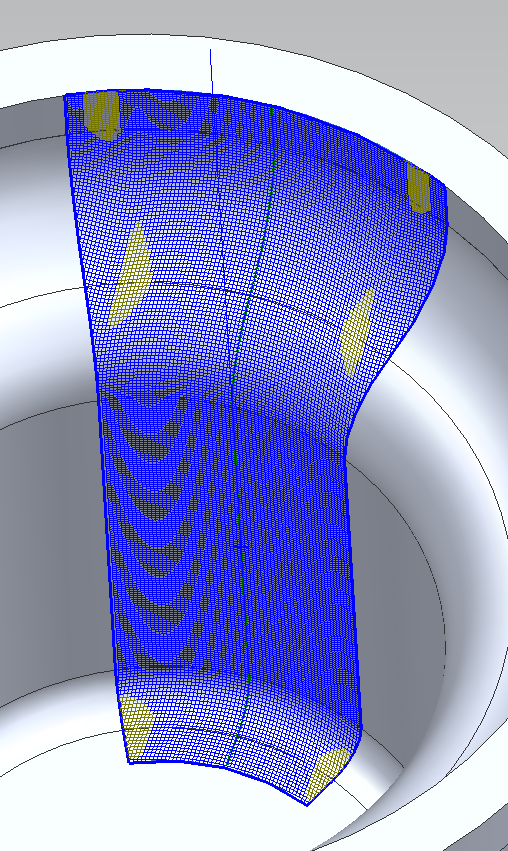
After learning Siemens NX and Fibersim, we began to experiment with various plys and layups that would be feasible. GFR recommended we use a 0-45-0 layup schedule. The majority of the plys we designed had too many deformations. After many heavily deformed ply designs, it was decided to split the plys into smaller plys. With more smaller plys, we had less deformation, but also a longer layup time.
The final layup schedule involved using 12 0° and 5 45° plys. The plys were cut using a plycutter as seen on the home page of this website.

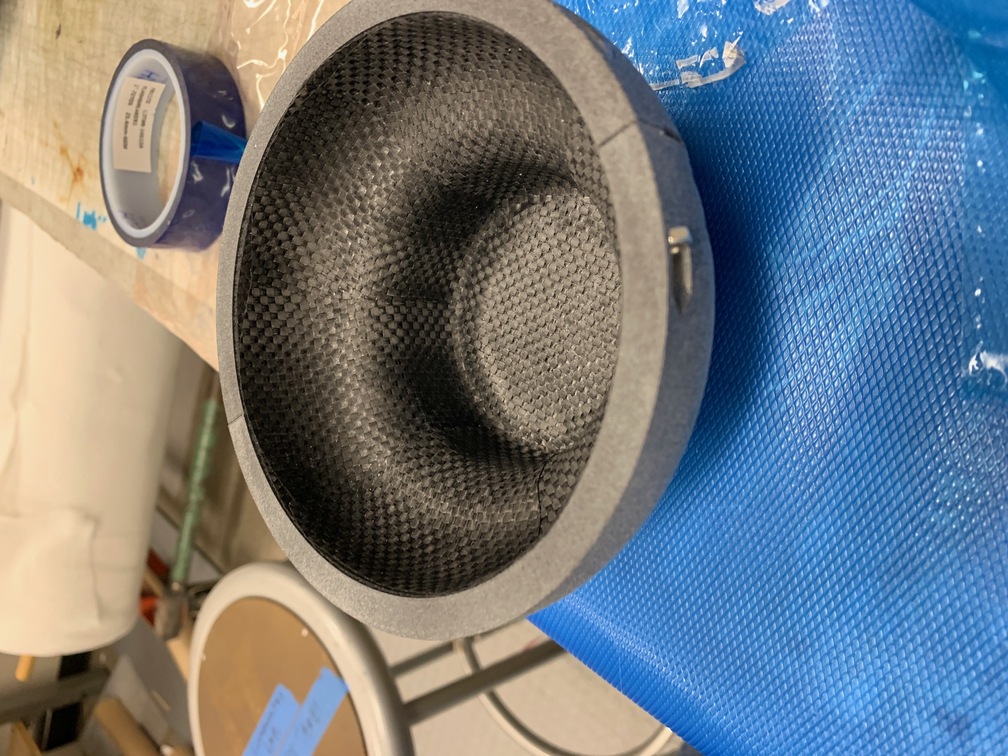
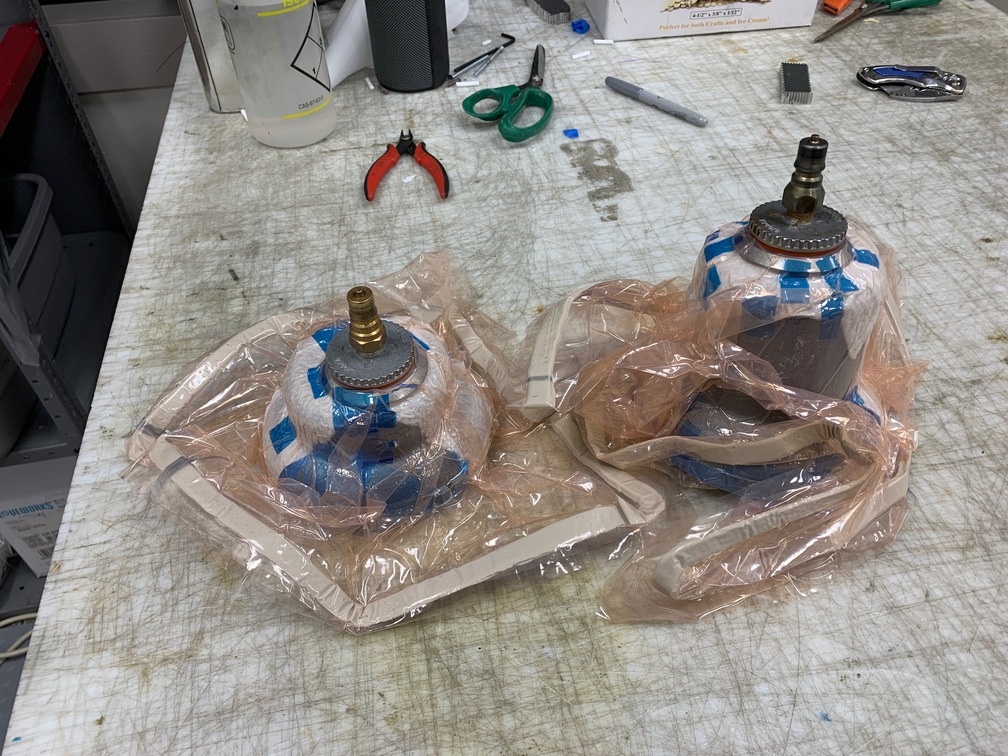
The plys were placed in the molds and then vacuum bagged. Once vacuum bagged, the molds were placed in the oven for the specified resin curing temperatures and times.

The molds deformed after multiple cycles of laying up and heating. Despite the warped molds, the geometry remained close enough such that the rims still fit in the tires.
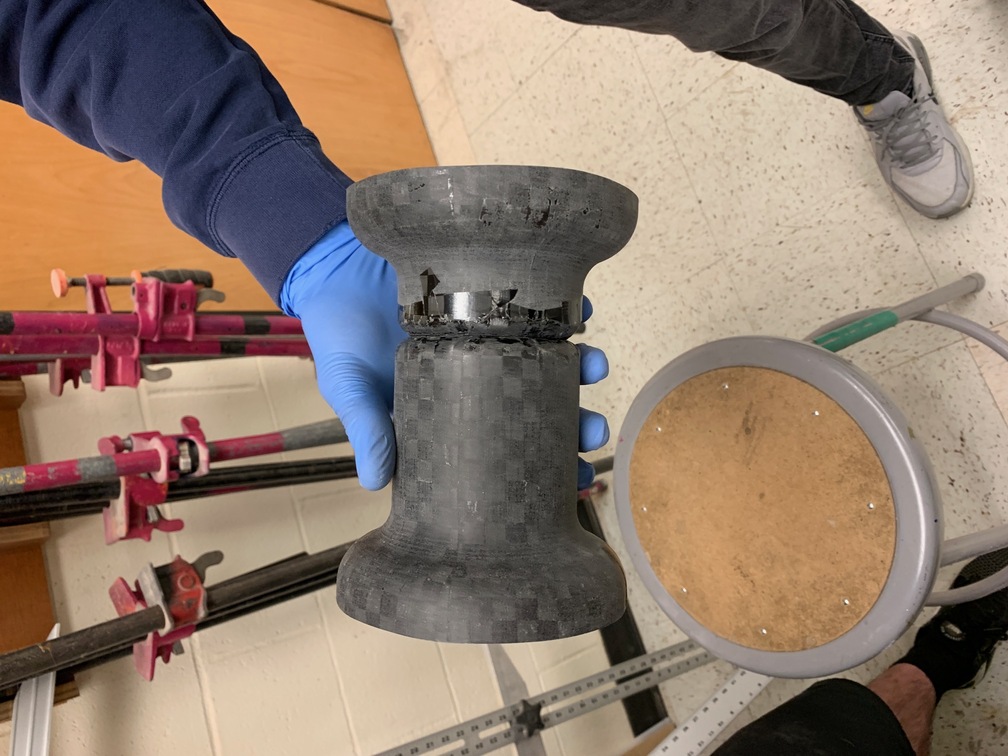
Each rim turned out slightly different due to each layup being slightly different. Post processing of the rims was minimal. The rims were sanded down to remove any sharp edges, and holes were drilled for attachment to the motor mounts. A 3d printed jig was used to get consistent holes.
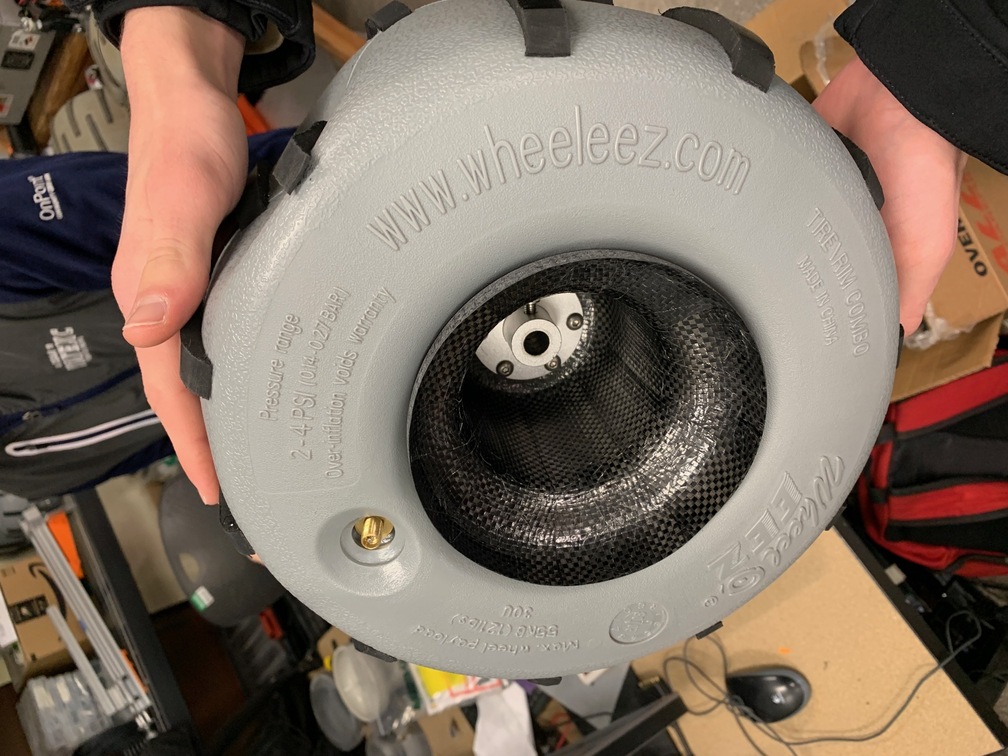
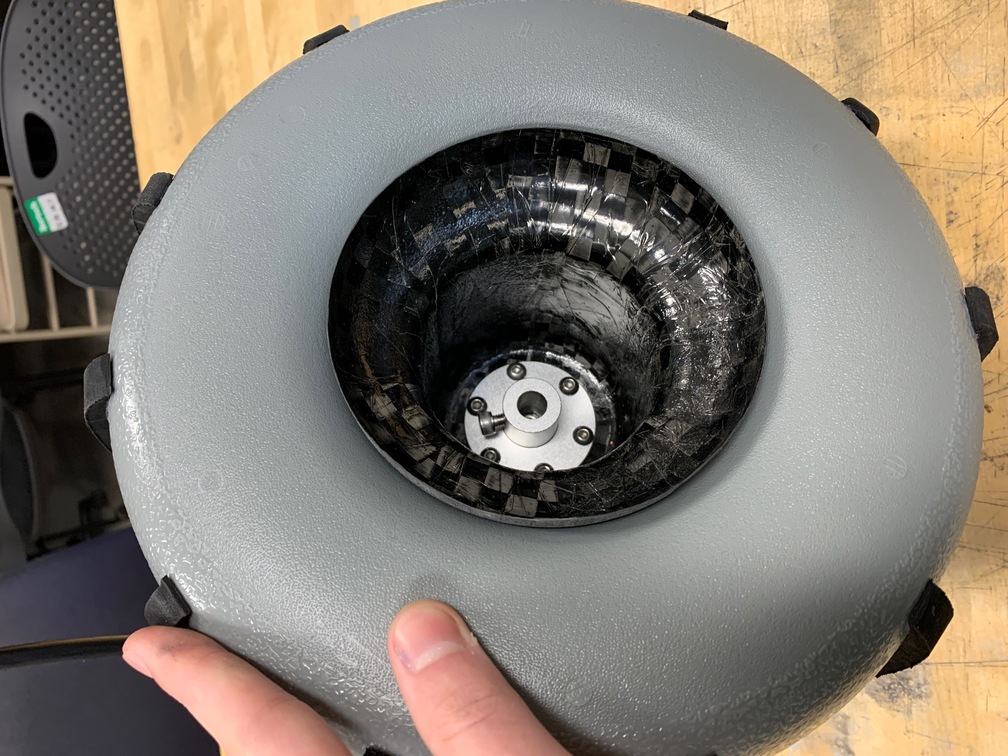
The finished rims were then test fit with the tires to ensure fitment. The below two images show the finished assembly.